
How to Set Up Your CO₂ Laser Cutter for Engraving Projects
If you’re planning to use your CO₂ laser machine for engraving acrylic, wood, leather, or other materials, proper setup is crucial for high-quality results. Whether you’re a hobbyist or a business owner, setting up your laser for engraving ensures better detail, safety, and efficiency.
Below is a detailed step-by-step guide on how to set up your CO₂ laser cutter for engraving projects.
1. Choose the Right Material and Prepare It
Start by selecting a material suitable for CO₂ laser engraving, such as:
Acrylic (ideal for clean, frosted finishes)
Wood (birch, MDF, walnut)
Leather
Glass (with masking tape for cleaner engraving)
Ensure the material is flat and clean to avoid distortion during the engraving process.
2. Secure the Material on the Laser Bed
Use a honeycomb bed or pins to fix the material firmly in place:
Avoid movement during operation
Place the material close to the origin point (usually top-left or bottom-left)
3. Adjust the Focus
Proper laser focus is essential for sharp engravings:
Use an automatic focus system if your machine has one
Or manually adjust the z-axis height until the distance from the lens to the material surface is optimal (typically 6–8 mm)
MYounglaser machines often come with built-in focus tools for easy setup.

4. Set Air Assist and Exhaust System
Turn on Air Assist to blow away debris and smoke during engraving
Activate your exhaust fan or air purifier to keep the engraving clean and your workspace safe
This also helps avoid burn marks on acrylic and improves detail clarity.
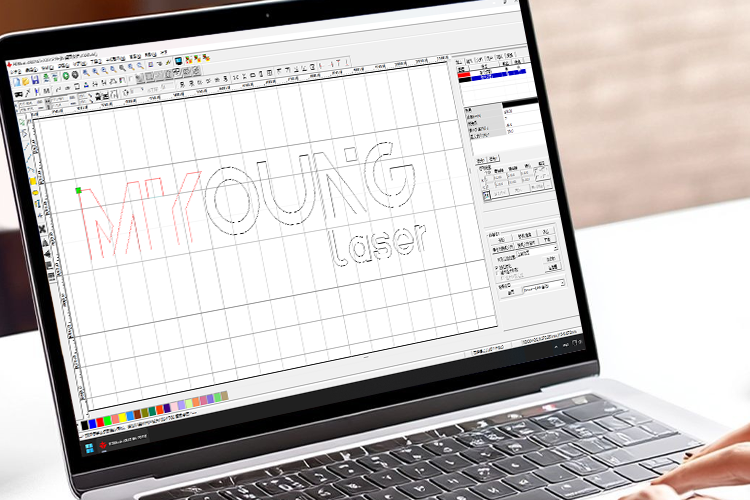
5. Import Your Design and Configure the Settings
Use software like LightBurn, RDWorks, or CorelDRAW:
Import your vector or bitmap design (SVG, AI, BMP, etc.)
Convert text to curves/paths to avoid font issues
Select “engrave” mode and assign proper layer color
6. Optimize Speed and Power Settings
Engraving settings vary depending on material and power:
Acrylic (3mm): 300 mm/s, 15–20% power
Wood (soft): 200 mm/s, 25–35% power
Glass: 100 mm/s, 10% power (use masking tape)
Always test on a scrap piece to fine-tune your results. A lower power and higher speed generally give better engraving results.
7. Preview the Engraving Path
Use the “frame” or “box” function on your CO₂ laser machine to:
Confirm alignment
Make sure the laser will cover the intended area
Avoid hitting clamps or edges
8. Start the Engraving Job
Once all settings are checked:
Close the protective lid
Start the job from your control panel or software
Monitor the job to ensure no burning or misalignment occurs
9. Post-Engraving Cleaning
Use a soft brush or cloth to remove residue. For acrylic:
Clean with a mild soap solution
Avoid alcohol or strong solvents that can damage the surface
10. Save Your Settings
If you plan to engrave the same material again, save your settings as a preset in your software or machine controller for efficiency.
Setting up your CO₂ laser machine for engraving is simple once you understand the process. Brands like MYounglaser make it easier with user-friendly controls and optimized engraving modes. With the right setup, you can create professional-quality designs from day one.

Budget Series
Affordable & versatile—perfect for small businesses and creators looking for cost-effective laser solutions.

Dura Series
Industrial-grade CO2 laser cutters with unmatched precision and high-speed performance for professional manufacturing.

MIX Series
Hybrid CO2 & fiber laser technology—cut and engrave metal, acrylic, wood, and more with one machine.

OB Series
Large-format open-bed laser cutters designed for oversized materials—ideal for signmaking, furniture, and industrial applications.